Wednesday, September 19, 2012

Bradigan gets zealous


My Allegiant of the Order of the Fist conversion. Decided to go with the Bloody Bradigan model for this because I wanted a bulkier servant of Menoth, much like the one pulling the Vessel of judgement.

Sunday, September 9, 2012

Large and In Charge


...of his small allies Force Organization at least.

This fat bastard is finally complete. Enjoy!


Monday, September 3, 2012

Built to Last


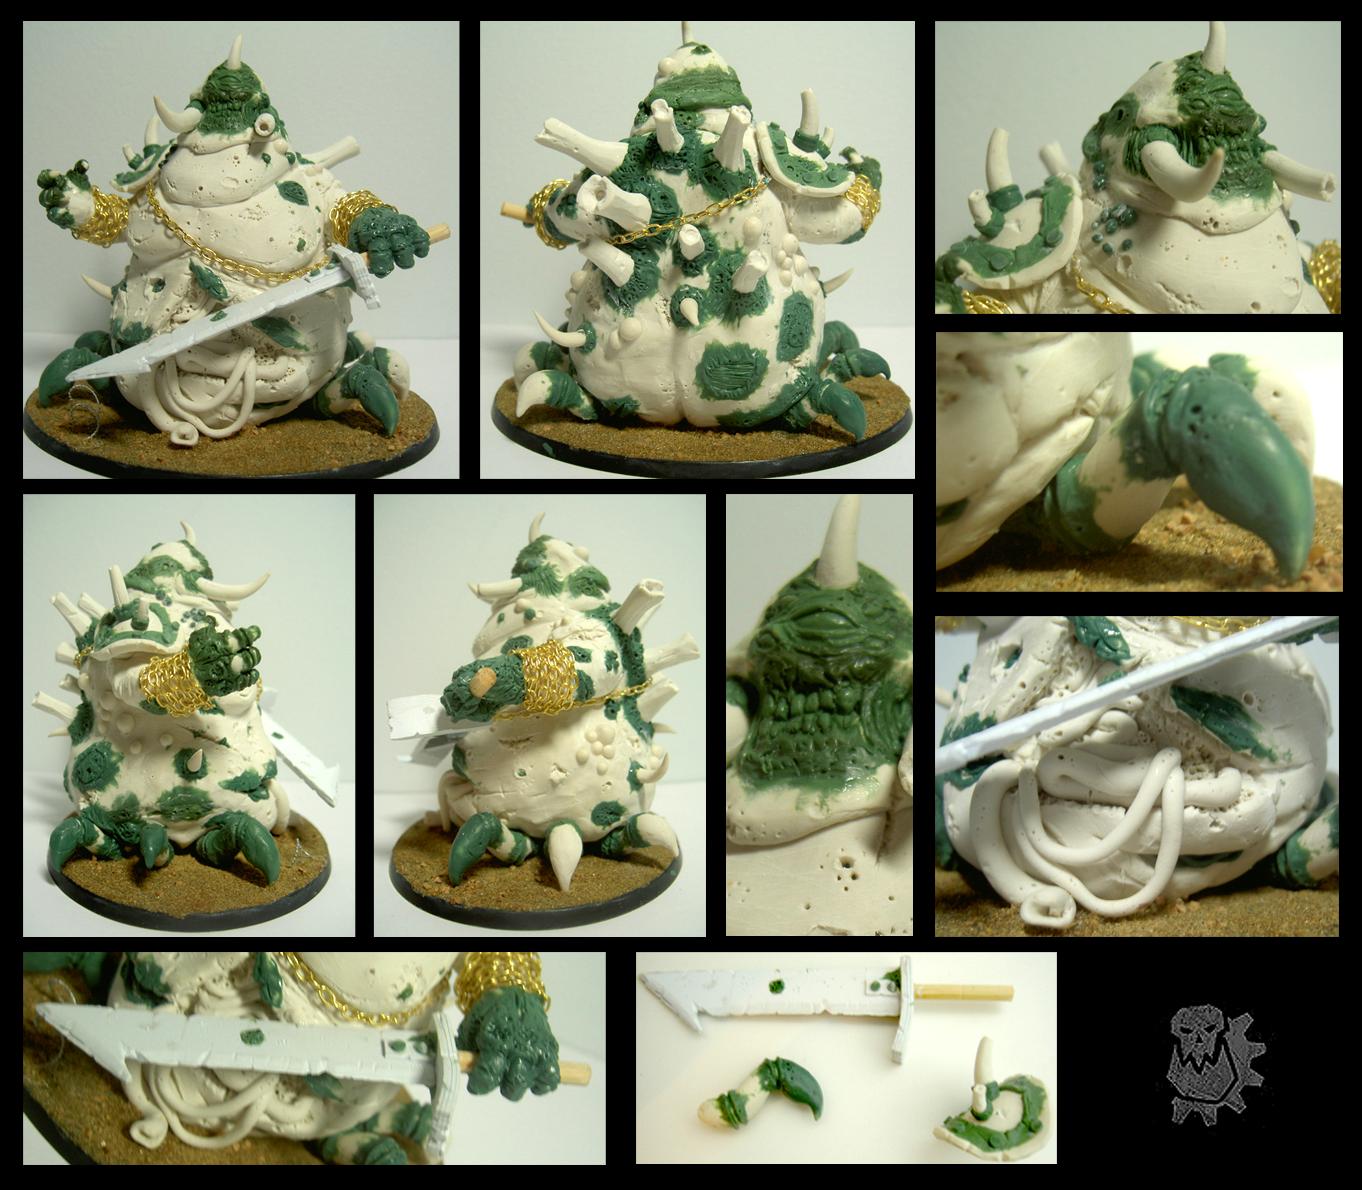
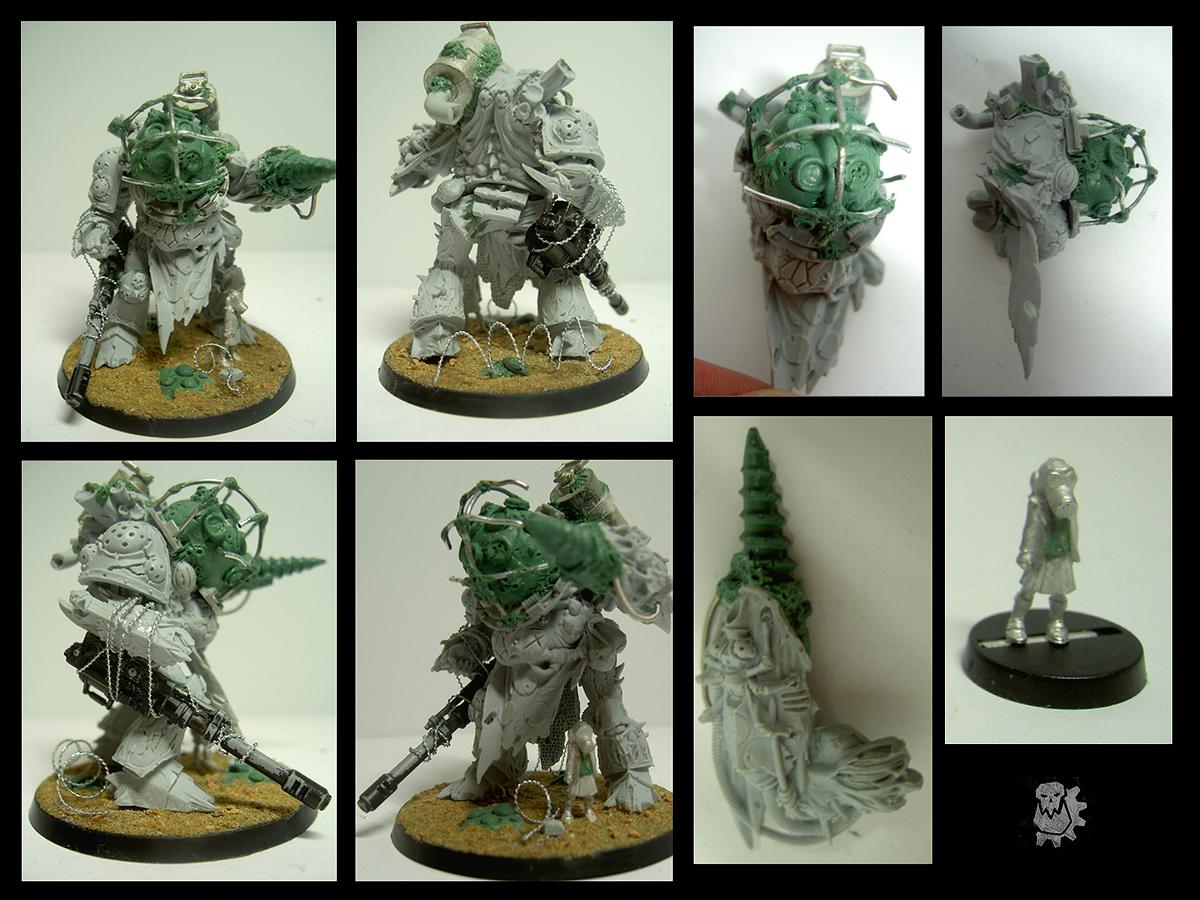
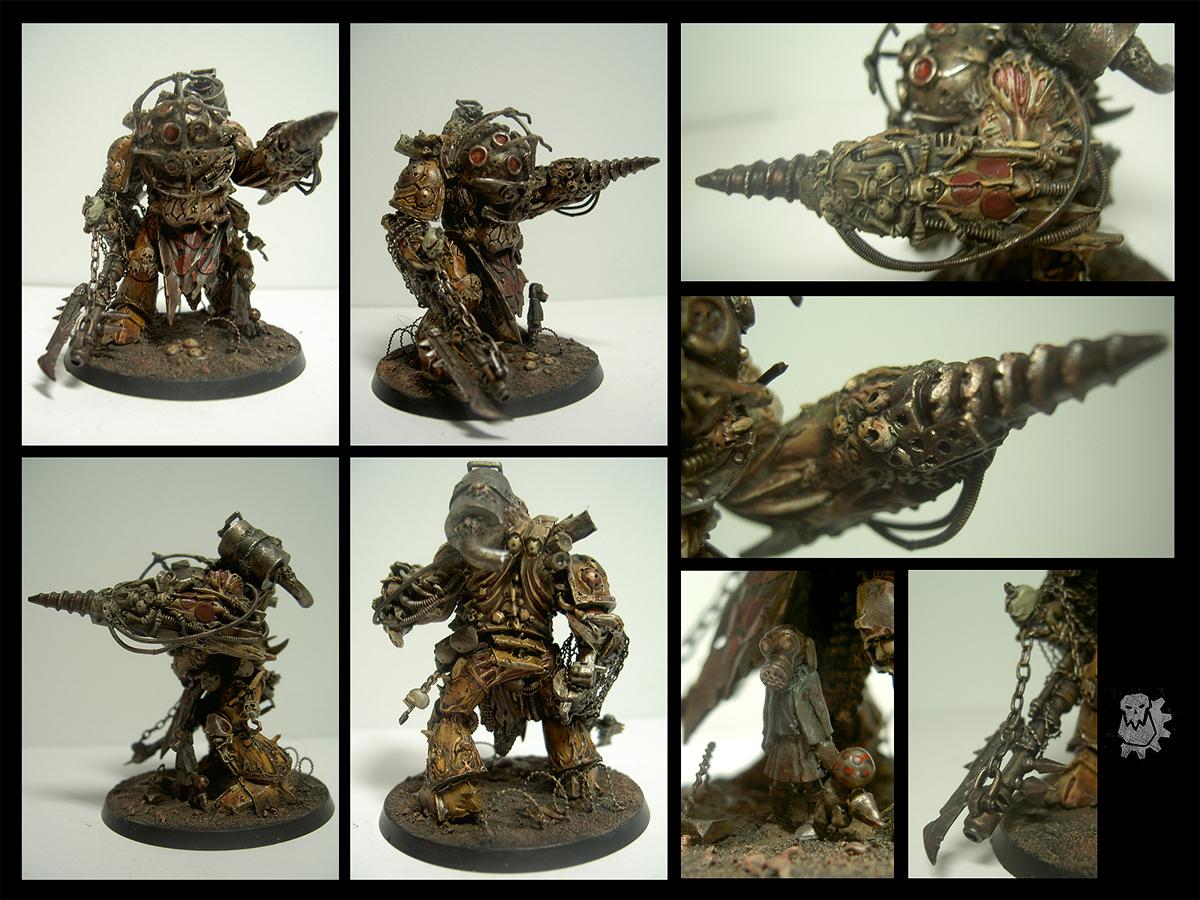
After sitting down with a friend discussing the process of proper model building and preparation whilst helping him put together his Captain Dominic Darius model (widely regarded to be one of the biggest pains in the ass in Privateers Press's line). We talked about a good deal of prep methods and care for models that ensures their longevity, and I figured I'd make a nice little post about them.


1. Washing

Metal or plastic, all parts should be washed prior assembly. Seeing as they come right out of the machine, all parts/sprues are covered in a mold release agent. Privateer Press metals have the most notable, a light powder like substance. Unwashed models are very likely to chip (moreso with metal models) as primer will not well to the model.

I wash my parts with some warm water dish soap, scrubbing lightly with an old toothbrush. Take your time with this especially more delicate models like staves and other parts that can bend and break. If your working in a sink, always stop/cover up the drain. Accidents happen and its not worth loosing a part, especially if you cant individually order it.

Let the parts dry completely before you move on.


2. Clean-Up

Don't worry, its not more washing, however this is one of the most, if not the most important steps in building your minis.Clean-up refers trimming, clipping and filing of any mold lines, flash or any other unsavory bits that aren't part of the model.

Mold lines usually come in two forms, one much easier to deal with than the other.

Raised mold lines can be scraped or filed away. I would recommend either using the flat site of an Exacto knife to scrap away, however, if you have a set of modelling files, they will provide better results.By using the flat side of the blade, you are less likely to cut into the model itself and ruin the surface/details. Again, take care with this process and do not rush. Make any cut or stroke away from yourself and do not apply to much pressure, as a stray slip could damage the model or worse, yourself.

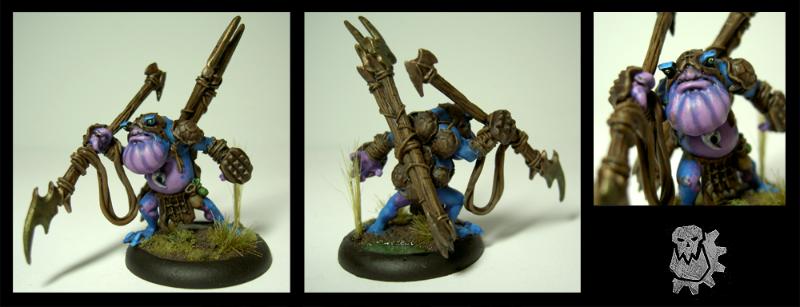
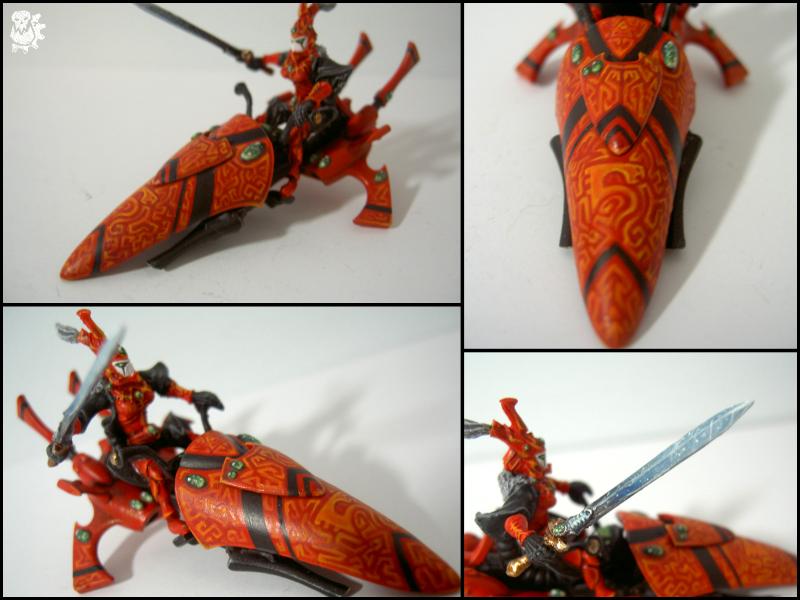
The other sort of mold line is where the surface appears to be shifted, like a small step raised from the surface. This can be seen my recent Gunnbjorn model, on the upper flat surface of his gun.

 
These types are not so easy to deal with. If they are very severe, I would recommend contacting the company and requesting a replacement. I know that Games Workshop and Privateer Press are very responsive to these issues and many friends of mine have receive replacements for their miscast models.

Alternatively, if they are minor, and you are relatively handy, you can fix this with some filing, trimming and green-stuff work. In the case of Gunnbjorn, I filed it down to an acceptable difference and ended up painting it as a crack in the metal of his gun. Opportunities for rolling with a miscast in the manner are few and far between.

Flash is an excess of thin plastic that surrounds the model. Flash should be trimmed away and any remaining mold lines should be taken care of as previously mentioned. Games Workshop Finecast is notable for their flash, so if you are purchasing any Finecaste models, be prepared for this.

Since Finecast has been mentioned, I think it is worthy mentioning Air Bubbles. Air Bubbles are fairly rare in plastics and will appear as small holes/pockets in the model's surface. These should be filled with Green Stuff (liquid or non depending on your skill level).

In addition on metal minis, vents, characterized as thin strips or hairs should be take off and filed down. These can range from longer strands to small spikes. These can be rather pesky as they can sometimes will fold over the surface and unless looked for, will show up when you go to paint your model, forcing you tot take care of them then and there, exposing the metal underneath.

You may be thinking, "Why should I be doing this, its too long and boring!?" This is all done to ensure your models look the best they can. A mold line can and will turn a good paintjob into crap if not properly taken care of. Remember you only get to do all of this once, so why rush the process and only have mediocre results.

3. Pinning

Pinning is used to reinforce and support parts that may be either too heavy or too fragile for glue alone. In the case of  Captain Darius, much of his assembly is awkward and clunky and required pinning in every joint. Very rarely will a plastic model require pinning during initial assembly, as they are much more flexible then their metal counterparts.

Pinning a model involves drilling a hole into the surface of two parts, placing a pin or paper clip in them and then gluing them together. When pinning, especially with ball joints, which are commonplace on Warjacks, you want to make sure your are pinnign at the right angle and placement. You should always dry fit your model with poster putty/blu tac to get an idea of where you want things to be and how the mini wll be posed.

A method I used when needing exact placement involves applying a small glob of paint to the centerpoint of one of the surfaces, then placing to parts together in the pose you want. The glob of paint will mark the other surface, giving your your point to drill in.

When it comes to equipment, I recommend a hobby drill. Nothing electric should be used, as they are more prone to slip, and again, cause damage to the model or yourself.

I also picked up a set of Dremel Drill bits from Home Depot for about 10$. It includes a 1/32" drill bit, which is easily my most used bit, as it is able to get into smaller places and pin parts such as staves and pipes without expanding the metal too much. Bits with low carbon are ideal as they are less likely to break.

The best way to pin is to drill your two holes, clip your pin to the approximate size, then super glue your pin into only one of the parts. Let it dry then test fit your pinned part into the other. This way, should the pin be too large, you do not have to remove them from the parts and have to deal with removing the half dried glue from the holes. Simply clip the pin down to the proper size and repeat until it fits properly. Then glue it into place and let it dry.


With pinning, a knocked over model that may have previously had a part snapped off will endure.


A bit of a lengthy post, but I hope this will help you all with building a better, tougher model!

Wednesday, August 29, 2012

Another Brick in the Wall

At the start of my terrain-creating spree, here are two newly finished brick walls. I designed these with Warmahordes in mind, providing linear obstacles (3/4 x 4x 3/4"), as well as the capability to be used for spells such as rock wall (gunnbjorn *cough-cough*).

Here's one of the walls in its development stage.


The wall itself was made with pink insulation foam bought at Home Depot. I bought a 2x8' sheet for a little under $9, which is more than I'll need for quite some time, though I wont be using it exclusively for small brick wall. I cut out a 4x1" section of the foam, as to leave room for error.

The foam was fairly thick and the bricks themselves are only a 1/4" thick, so I had to cut it down a bit. This proved to be a bit of a learning process as you need a very sharp knife and one good cut in one direction. Sawing motion can be seen and may mess up the surface.

From there, I lightly marked off 3 1/4" tall rows with a pencil and marked off the ends of the bricks at each centerpoint, doing this for boths sides. After that, I carefully cut into the marks, being sure not to cut too deeps on either side as to not lop off an entire row. After cutting the bricks, I went in with a pencil and opened the grooves up a bit. Once content with them, I chipped and cut away at the bricks at rando (again with care, foam can be quite delicate at this thickness).

Once finished with the wall,  I mounted it on a 3/4 x 4" peice of plasticard (I would recommend Masonite as it does not flex, however, I did not have Masonite so I settled with plasticard) Then I based it, putting a bit of dirt on the bricks. Important! Super glue cannot be used on foam, as it will cause it to deteriorate, so I used PVA glue to mount and base it.

Regarding gameplay, this obstacle would provide cover and act as an obstacle from behind the plasticard area,  not the bricks themselves. I felt doing a brick wall that was exactly 4 x 3/4" with no damage or distinction would have been terribly boring and well... stupid.

Once letting it fully dry for several hours, I moved onto painting. As aerosol products melt foam, I did not primer the walls.


I started out with a base coat of Black. I used Vallejo for this as it is a bit thicker and even with a bit of water it spreads well. (which was needed to get into some of the cracks). After that I applied a drybrushed layer of P3 Battlefield Brown, making sure it was more brown than black. A lighter drybrush layer of GW Snakebite Leather (no idea what its called now) was applied. Then I painted some very very light highlights on the edges using P3 Menoth Base.

As a final touch I put some mossy flock on on the base and some of the crevasses to give that old mossed-touched appearance, as well as a few stick on bushes (with a bit of glue). Again, I did not varnish this due to the aerosol, but if you have varnish paint, you can try using an airbrush if you like.

This is the begging of a series of terrain I will be creating and hope you enjoyed this brief tutorial.


Sunday, August 26, 2012

Captain Gunnbjorn


I've always been a fan of the Gunnbjorn model, and though I currently do not play Trollbloods, I decided to pick up ol Gunny and paint him up.


I decided to go with a somewhat Cygnarian look to him due to his fluff, and I wanted to do some special basing for him, making it look like he is in a cobblestone street. The brickwork was done with plasticard and greenstuff (the greenstuf was for the rounded off bricks at the edge of the base's shoulder.

I'd like to possibly start a Gunny list, but reading further up on him and weighing in, hes currently in a poor state due to the lack of support from his army, as he is a very unique warlock among the Trollbloods.

Ironback Spitter

Heres another recently finished model for my Gatormen: the Ironback Spitter. I don't like the color scheme Privateer Press gave him on the box/studio model and was more attracted to the color scheme in the Minions book it sported.


What this guy hasn't made up in points he makes up in sheer novelty, being a giant turtle that hawks acidic loogeys on people. But he does make up all his points...

Grand Scrutating with Severius.


One of my newly completed warcasters, Grand Scrutator Severius. I had a blast working on this guy, as he is one of my favorite Menoth models, maybe one my favorite sculpts from all of Privateers products.


 On this model I got to flex a bit with the P3 paints capability for excellent blending. I started off with a layer of Menoth Base for the cream robes, then going over it with a Gryphone Sepia Wash(dont remember the new name for it). Then I went back and highlighted with Menoth Base, then further highlights with Menoth Base Highlight. I like to keep my tones for Menoth warm, so the sepia was really helps out. Likewise with the cloak and reds. which started out as Sanguine Base, then a very light and gradual drybrush of Blood Red, and Gryphone Sepia wash, then Blood Red retouching. After that i further highlighted with a mix of orange and red, then orange.

All and all, im pretty pleased with him in general. Just a matter of converting Widowmakers and sniping at the enemy warcaster!

Solo Crazy

Some recently and newly finished Warmahordes models! I've gone a bit crazy with solo's lately, and have been loving it. Its nice since I can just sit down, work on it, then its done. Not 9 more guys of the same thing.

First up are my two Vassals of Menoth.


Next, the Hierophant. Really enjoyed working on this one. And hes quite handy in game, giving Reznik some focus relief with Harmonious Exaltation. Now he can look as good as he performs.


Heres the brother of my recent Croak Hunter, though hes a bit more flamboyant.


The two little jerks side by side. Maybe they'll stop whiffing their rolls soon...


And though its not a solo, here's a Deliverer.


Sunday, August 12, 2012

Kommander Orsus Zoktavir

Finished up a birthday gift for a friend: Kommander Orsus Zoktavir.


Later that night, he tried out his new warcaster in a  2v2 Hordes vs Warmachine battle, Blindwater Congregation and Legion of Everblight vs Retribution of Scyrah and Khador. The game was 25pts a player (though each side managed 51pts).

Our Side:

Bloody Barnabas
-Blackhide Wrastler
-Bull Snapper
-Ironback Spitter
-5 Man Gatorman Posse
-Croak Hunter
-Feralgeist

-pLilith
-Carnivean
-Angelius
- 2 Harriers
-Raek
-Shepherd
-Strider Deathstalker

Our Opponents

eButcher
-Black Ivan
-2 Destroyers
-Kodiak

-Adeptus Rahn
-Pheonix
-House Shyeel Battle Mages
-Arcanist
-Ghost Sniper
-Mage Hunter Assassin
-Stormfall Archers
-Narn

Turn 1 proceed fairly normally, everyone advancing. I dropped a Swamp Pit and moved 2 Gatormen and my Wrastler in to avoid getting shot. The RoS Stormfall Archers set their sights to Lilith and the Raek, lighting them on fire fairly early. The Ghost Sniper went after my Ironback Spitter, however, only put a 3 dmg dent in it. The Ghost Sniper sat between two Juggernauts with Butcher hanging back behind. "That sniper is as safe as he'll ever be there." said my friend.

The next turn my Ironback Spitter replied with a giant glob of acid, killing the sniper and damaging Butcher, applying Corrosion to him.

The battle was back and forth as it progress. My Blackhide Wrastler was chain pulled by the Battle Mages, then was hacked to bits by Butcher in a matter of seconds. The Stormfall Archers began to whittle away and Narn was also killed off. The LoE Shepard died early in the fight as well, while my Croak Hunter flanked and hovered around Butcher.

The turning point was when Butcher popped his feat and generated 4 rage tokens, which proceeded to wipe out my remaining Gatormen and Croak Hunter. In the subsequent turn, Angelius moved in and took out the Arcanist and Adeptus Rahn. The turn after Butcher came over and put down Barnabus and Lilith was shot down, sealing the deal and ending the game.


Friday, August 10, 2012

Master Craft Gaming

A quick blurb to promote the website Master Craft Gaming. A lot of great stuff here, including tactics, galleries and a lot of other cool 40k stuff. A few of my models had the privileged of being showcased on their site and I've had some great games and lessons with Son of Adam (and his damn Eldar shenanigans), so I figured I'd spread the word!

Croak Hunter


 Finally back into the swing of things now that my summer gig is over. Here's a frog!


The colors I chose for my Croak Hunter wasn't an exact scheme from any real frog, but I've always liked the splotchy belly look. A little more vibrant than the other models in my Gatormen list, but it definitely highlights his dangerous/poison aspect.

Sunday, June 10, 2012

Great Unclean One Sculpt Complete!

The sculpt for the Great Unclean one is complete!


Did a good deal of detail work with GS to get that nice and diseased texture to him, The sword is plasticard and a wooden dowel. One hand ended up a big larger than the other, but I'm pleased with it overall. Painted version coming soon!

Tuesday, May 1, 2012

Apostles of Contagion Super Update!

A whole mess of models for my Apostles of Contagion force. Planning on doing both a CSM and Renegades army.

Next up some Terminators I salvaged from an older army. Going for a good accompanying unit for my Bioshock inspired Daemon Prince.. The heads are actually the exhaust vents from Chaos backpacks.


Another salvaged model, A Nurgle Dread. Was lucky to find the FW chainfist at my FLGS, as all I had was that aweful, awful claw bit in my bitzbox.


And now for some renegades! My Disciples of Xaphan and Scout Sentinels. The heads are the Iron Reich Chem Trooper from Kromlech. Chopped up some lasguns to make them Shotguns. Then sentinels were a on the whim buy, as I got them both in a local auction for $15, in addition to some Chimaeras. 


More to come soon!

Great Unclean One: Pt 1

So after some advice from a fellow scratch builder, I went and picked up a batch of Sculpey. Started with a tin foil core and built up from there.


Day Two: Baked the main form and started greenstuff work.


More to come in the next few days!

Saturday, April 28, 2012

A plague upon you!

Gearing up for my next, and biggest conversion, a fully sculpted Great Unclean One! Starting off with some conceptual work.


Try to give a clear great unclean one look, but go for something a little more unique. Leaning more towards the multiple eye look with the less wormlike body, but still not 100%.

General approach will be building the body from foamcore, doing a basic shape/block skeleton. Then cutting down and rounding out until I get the shape I want. From there, fill in the gaps with Drydex spackling and sanding that down. Finally, the down and dirty work, scuplting the detail with a later of greenstuff over the whole body.

Definitely looking forward to this!

Monday, April 9, 2012

"Granddaddy": Apostles of Contagion Daemon Prince


"Granddaddy" is my Bioshock inspired Daemon Prince for a Apostles of Contagion force I am currently working on.

Here are the initial stages of him. Used the Nurgle Daemon Prince body. The drill arm was molded from a Killa Kan drill and the wiring was guitar strings. (32 and 42 gauge). The headpiece was entirely greenstuffed, I didnt want to try to have some sort of hollow dome to glue on so i just built up a greenstuff dome in thick ayers, placing some guitar string between the upper layers. For the rollcage, I just used thick pins and paperclips. Zipkicker definitely aided in this as they were a complete pain in the ass to do. I wanted a very renegade/ scrapped together look for this force so I gave him a jerry rigged IG autocannon, tied to him with chains (found a Michael s in their jewelry section, dirt cheap too.) and barbed wire from Army Painter. Although the model is styled after the Bouncer Big Daddies, i felt it would look odd with an empty hand, so I gave it something reminisce of the Rivet gun.

The little sister was a must for this model and when I found the mini with the gas mask it screamed Nurgle. Got her from Hasslefree Minatures. Even gave her a doll of the Daemon Prince (in the picture below)


This was definitely my grungiest, filthiest models. Started off with a dark brown and worked my way up to Vomit Brown. The Apostles of Contagion are normally full brass, but I felt metalllic marines wouldnt offer as much as far as quality grim, filth and ooze, so I took some liberties went with a yellowish hue.


Hope you folks enjoy!

Friday, February 10, 2012

Saim-Hann Farseer


A Saim-Hann Farseer on a jetbike. A commission for a buddy at my LGS. The runes were pure freehand. The model (not converted/built by me) is from Chapterhouse Studios. Working on an accompanying jetbike Seer Council as well.

Boss Snagbolt


So I was looking to mix it up with my orks and had a good bit of bitz laying around, so I scratch built what will now be a Warboss/Big Mek/ Weird Boy for my Adeptuz Mekanikuz Waaagh! I wanted to try out a Weirdboy mostly, but still give him that Mek theme that I am keeping throughout my army, so I gave him the Techpriest-esque robes and what would be the Ork equivalent of a Psycannon to add in some fluff. Halfway through working on it I realized it could pass for a Big Mek as well so I gave him a back mounted KFF generator (actually a teleport beacon from the Terminator Kit.)

A large portion of this guy was greenstuffed, such as the cowl, coat and body. The legs were cast from a Nob. To get a solid core and a good base to start off of, the torso was made by green-stuffing around a normal boy torso. The head is from the AOBR Warboss and the Power Klaw is a Nob big choppa part. His gun was actually made from a IG Weapon Team Lascannon and a few other orky bitz. Had a few old headphones lying around and chopped up some cord to get some easy wiring for him. Definitely one of the most fun models I've worked on.

Thursday, January 19, 2012

Completed Tu'Shan

I've been to busy shamelessly plugging this mini over on Dakka and forgot to give it some love here!